
Roof pitch is one of those technical details that gets glossed over until it causes a real problem. For commercial building owners, understanding the slope of your roof is not just an academic exercise. It directly determines which roofing systems are appropriate, how water drains, and what maintenance protocols apply to your building. A low slope roof pitch is the defining characteristic of most commercial flat roof systems, and knowing how yours measures up shapes every decision from material selection to drainage design. If you want to explore how pitch affects your roofing options in practice, the details below will give you the foundation you need.
Here’s what you’ll learn in this guide:
- What low slope roof pitch means and how it is measured
- The pitch ranges that define low slope, steep slope, and flat roof categories
- How to measure your own roof pitch using simple tools
- Why pitch matters for drainage, material selection, and building code compliance
- How pitch affects roofing system performance across different Northeast climates
Why Low Slope Roof Pitch Matters More Than Most Owners Realize
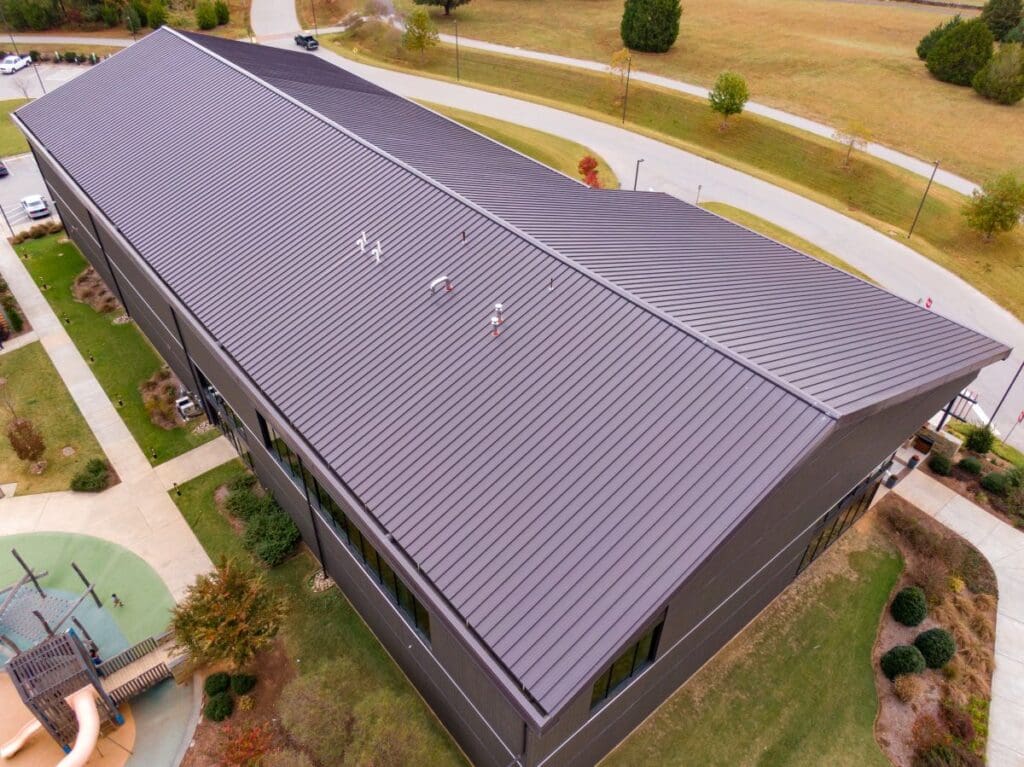
Roof pitch is not just a number on a drawing. It is a fundamental design parameter that determines how your roof manages water, which materials can be installed on it, and how long those materials will perform before requiring replacement or repair. Commercial buildings across Pennsylvania and surrounding areas are disproportionately low slope or flat roof structures, and understanding the pitch of those roofs is the starting point for every informed roofing decision.
A roof that appears flat is almost never truly level. Building codes require a minimum slope on all roof systems to ensure water moves toward drains rather than pooling indefinitely. When that slope is insufficient, inadequately maintained, or changed by structural settlement, ponding water becomes a chronic problem that accelerates membrane degradation, adds structural load, and creates interior leak risk. Understanding your roof’s actual pitch is the first step to knowing whether your drainage system is adequate for your building.
- Material eligibility: Different roofing systems have minimum slope requirements. Single-ply membranes, built-up roofing, and metal panels each have pitch thresholds below which they are not rated to perform. Installing a system below its rated slope minimum voids manufacturer warranties and often fails prematurely.
- Drainage performance: Even a difference of a quarter inch of rise per foot can meaningfully change how quickly water clears a roof surface after rainfall. Roofs near the low end of acceptable pitch ranges are more vulnerable to ponding than those with more aggressive slopes.
- Code compliance: Building codes in Pennsylvania and surrounding areas specify minimum slope requirements for different roofing systems. Non-compliant installations can create problems at resale, during insurance claims, and when permits are required for renovation work.
- Maintenance planning: Low slope roofs require different inspection and maintenance protocols than steep slope systems. Knowing your pitch category helps you work with contractors who understand the specific vulnerabilities of your system type.
- Snow and ice load management: For commercial buildings in New York and surrounding areas, low slope roofs accumulate snow and ice in ways that steeper systems do not. Understanding pitch and drainage geometry is essential for assessing whether the roof structure can handle winter weather loading safely.
6 Simple Low Slope Roof Pitch Measurements Guide
Pitch is expressed as a ratio of vertical rise to horizontal run, written as X:12. A 4:12 pitch, for example, rises four inches vertically for every 12 inches of horizontal distance. Measuring and interpreting that ratio correctly is straightforward once you understand the process. Here is a step-by-step guide to measuring low slope roof pitch and understanding what the numbers mean.
1. Understand the Pitch Classification System
Before measuring, it helps to understand the categories that define how roofing professionals and building codes classify different pitch ranges. These classifications determine which roofing systems are appropriate for a given structure.
- Flat roofs are technically defined as having a pitch of less than 1:12, meaning less than one inch of rise per 12 inches of run. True zero-pitch roofs are rare in practice because building codes require at least minimal drainage slope.
- Low slope roofs fall in the range of 1:12 to 3:12. This is the category that covers the vast majority of commercial flat roof systems, including most warehouses, retail buildings, office structures, and industrial facilities.
- Conventional or steep slope roofs begin at 4:12 and above. These systems use different materials, drainage mechanisms, and installation methods than low slope commercial roofing.
- Most commercial single-ply membranes and built-up roofing systems are rated for installation at slopes as low as one quarter inch per foot, which translates to approximately 1:48 in ratio terms, provided drainage outlets are properly spaced.
2. Gather Your Measurement Tools
Measuring low slope roof pitch requires only basic tools that are available at any hardware store. Precision matters more than sophisticated equipment for this task.
- A standard 12-inch level is the primary tool for pitch measurement. Look for one with a clearly readable bubble indicator and accurate calibration.
- A tape measure or ruler is needed to measure the vertical rise from the level line to the roof surface.
- A pencil and notepad to record measurements across multiple roof locations, since pitch can vary across a large commercial roof if the structure has settled unevenly over time.
- For safety on any roof surface, appropriate footwear and fall protection per OSHA standards apply. Low slope roof surfaces can be unexpectedly slippery, particularly when wet or covered with roofing granules.
3. Take the Measurement Correctly
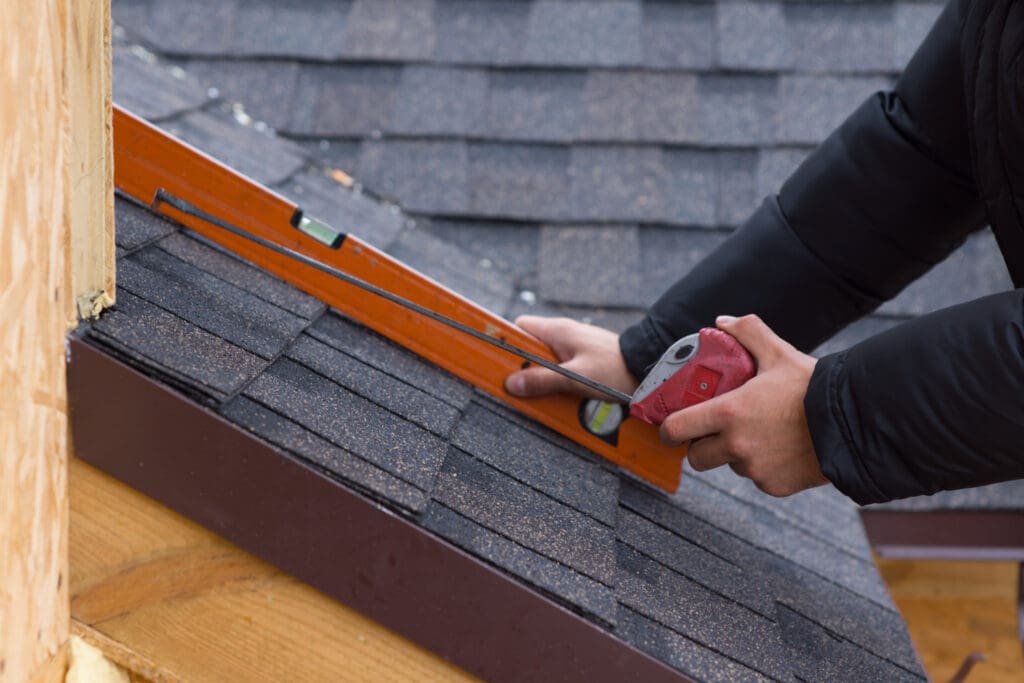
The measurement process itself is straightforward. Place your 12-inch level on the roof surface with the bubble centered to confirm it is reading level. Then measure the vertical distance from the end of the level down to the roof surface. That measurement in inches is your pitch ratio numerator.
- Place the level parallel to the direction of roof drainage, not perpendicular to it, to get an accurate reading in the direction water is intended to flow
- Take measurements in multiple locations across the roof, particularly at mid-span between drainage outlets, near parapet walls, and at any locations where ponding water has been observed previously
- Record all measurements and note their locations on a simple roof sketch so that areas with inadequate slope can be identified and mapped for contractor review
4. Interpret Your Results
Once you have your measurements, interpreting them in context of roofing system requirements and code minimums is straightforward.
- A measurement of one quarter inch or more per foot satisfies the minimum slope requirement for most commercial single-ply membrane and built-up roofing systems
- Measurements below one quarter inch per foot indicate areas where drainage is likely inadequate and where ponding water is a chronic risk
- Variations of more than one quarter inch across the same roof surface may indicate structural deflection, deck movement, or installation irregularities that should be assessed by a professional
- For buildings in Pennsylvania and surrounding areas, local building codes should be confirmed with the authority having jurisdiction, as minimum slope requirements may exceed the manufacturer minimums in some jurisdictions
5. Identify Problem Zones Before They Become Expensive
Low spot identification is one of the most practical outcomes of a pitch measurement exercise. Areas where the measured pitch falls below drainage thresholds are exactly the locations where membrane degradation is most accelerated and where leak risk is highest. Mapping those zones gives property owners and contractors a clear target for corrective action.
- Chronic ponding zones identified through pitch measurement can sometimes be corrected through tapered insulation installation beneath the membrane, which builds slope into the roof assembly without structural modification
- Drain placement and sizing should be reviewed in conjunction with pitch measurement, as a drain positioned at a high point relative to the surrounding slope is functionally useless regardless of its mechanical condition
- Areas with very low measured pitch near parapet walls are particularly common problem zones, as water migrates toward walls and sits against flashing assemblies where it causes the most damage
6. Document and Share Your Findings With a Professional
A pitch measurement exercise is most valuable when the results are translated into an actionable roofing plan. Recording your measurements accurately and sharing them with a qualified commercial roofing contractor gives them a head start on understanding your building’s drainage geometry before they even set foot on the roof. It also creates a baseline record that can be referenced in future inspections to identify whether structural settlement is changing pitch conditions over time.
- Photograph each measurement location alongside a notepad showing the recorded reading so you have a visual record tied to a specific roof location
- Mark problem zones on a simple hand-drawn or printed aerial sketch of the roof so low-pitch areas are spatially mapped rather than just listed
- Share your documentation with any contractor you invite to assess the roof, and ask them to incorporate your findings into their formal inspection report for a complete condition record
How Low Slope Pitch Affects Roofing Materials and System Selection
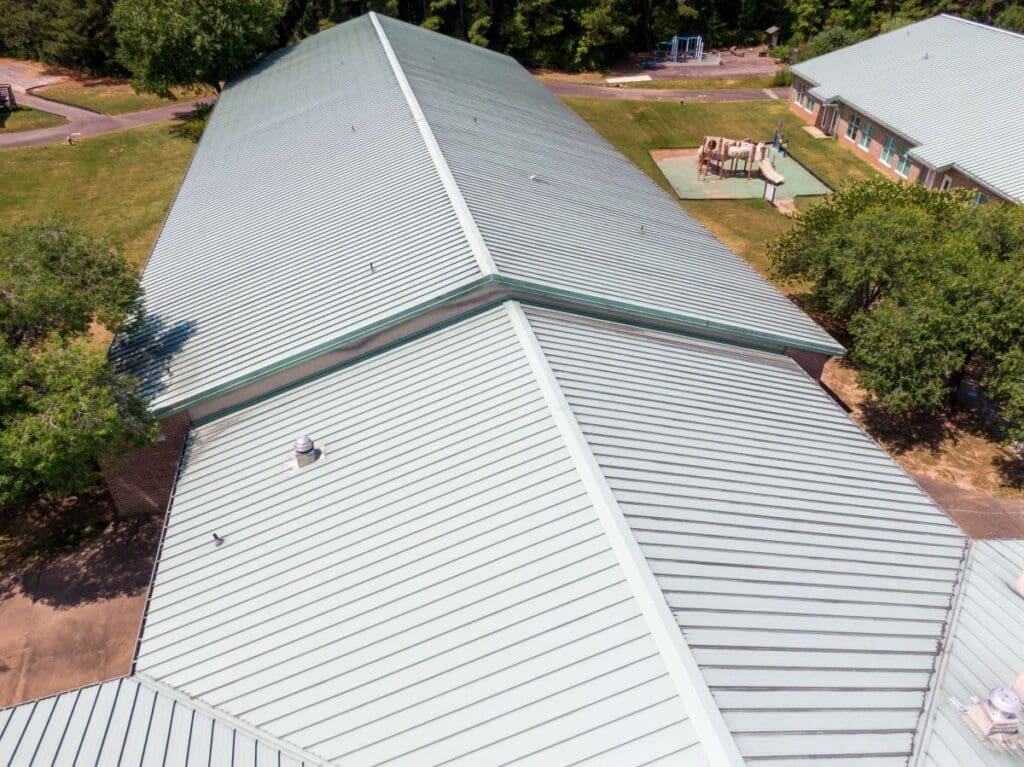
Pitch is one of the primary filters in commercial roofing system selection. Not every system performs equally across the low slope pitch range, and matching the system to the actual pitch conditions on your building is a basic requirement for long-term performance.
- Single-ply membranes (TPO, EPDM, PVC): Appropriate for the full low slope range down to minimum code-compliant slopes. TPO and EPDM are the most commonly specified systems for commercial low slope applications across New York and surrounding areas. Their flexibility and seam systems tolerate the thermal movement that low slope roofs experience.
- Modified bitumen: Well suited for low slope applications and particularly appropriate for buildings where rooftop foot traffic is a concern. The multi-layer construction of modified bitumen provides better puncture resistance than single-ply alternatives at comparable pitch conditions.
- Built-up roofing (BUR): Appropriate for low slope applications with proper drainage design. The mass and redundant layers of BUR make it particularly forgiving of minor drainage inefficiencies compared to single-ply systems, though it is still not appropriate for conditions with chronic standing water.
- Metal roofing: Requires a minimum slope of 1:12 for most standing seam profiles and higher minimums for exposed fastener systems. Metal is generally not appropriate at the lower end of the low slope pitch range without specialized low-slope panel profiles.
- Spray polyurethane foam (SPF): One of the few systems that can be applied to create or restore slope as part of the installation process. SPF can be applied in variable thicknesses to build drainage slope into areas that measure below minimum on existing roof surfaces, making it a useful remediation tool for buildings with chronic drainage issues.
Low Slope Drainage Design and Pitch Interaction
Pitch measurement and drainage system design are inseparable topics on commercial low slope roofs. A well-designed drainage system compensates for minimum pitch conditions. A poorly designed or maintained drainage system turns even adequate pitch into a ponding problem.
Primary Drain Placement and Spacing
Building codes specify maximum allowable drainage areas per roof drain based on rainfall intensity and roof pitch. Lower pitch roofs require more closely spaced drains because water moves toward outlets more slowly. For large commercial roofs across Pennsylvania and surrounding areas, confirming that drain spacing meets current code requirements for the actual measured pitch is worth the effort of a professional drainage review.
Secondary Overflow Drainage
Secondary drains or scuppers are required by code on most commercial roof systems as a backup if primary drains become blocked. They are positioned slightly above the primary drain level so they only activate when primary drainage is overwhelmed. Their placement must account for actual roof pitch to ensure they capture water correctly in the overflow condition.
Tapered Insulation as a Slope Correction Tool
When measured pitch falls below the threshold required for the desired roofing system, tapered insulation offers a cost-effective way to build slope into the roof assembly without structural modification. Tapered panels are specified in a layout that directs water toward drain locations, and the system is designed using the actual measured pitch data from the existing roof surface.
| Pitch Range | Classification | Typical System Options | Key Drainage Consideration |
| Less than 1:48 | Inadequate | Remediation required | Tapered insulation or structural correction needed |
| 1:48 to 1:12 | Low slope / flat | TPO, EPDM, BUR, modified bitumen, SPF | Drain spacing and secondary overflow critical |
| 1:12 to 3:12 | Low slope | All of the above plus low-slope metal profiles | Standard commercial drainage design |
| 4:12 and above | Steep slope | Metal, shingles, slate, tile | Gravity drainage; different system requirements |
Know Your Roof Before the Next Rain Event
A commercial roof pitch measurement takes less than an hour and costs nothing beyond some basic tools and the time to do it carefully. The information it produces is directly actionable: it tells you whether your roof is draining as designed, whether your current system is appropriate for your actual slope conditions, and where corrective work is needed before the next heavy rain or snow event.
Weathertite Solutions works with commercial property owners and facility managers across Pennsylvania and surrounding areas to assess roof pitch, drainage geometry, and system appropriateness as part of comprehensive roofing evaluations. Whether you are dealing with chronic ponding, planning a roof replacement, or simply want to understand your building’s roofing conditions before making any commitments, we provide the technical assessment and honest recommendations your project requires. Contact us today to schedule your roof evaluation and find out exactly what your pitch conditions mean for your building’s roofing future.